Andy recently restored this telephone, which arrived with us in the condition seen in the first photo. He takes up the story of the restoration below:
The damage to this phone occured in the post as a result of very poor packaging by the sender. Old telephones should never be sent with the handset resting ‘on the hook’ and it is the handset bashing against the maid body casing that likely caused this breakage.
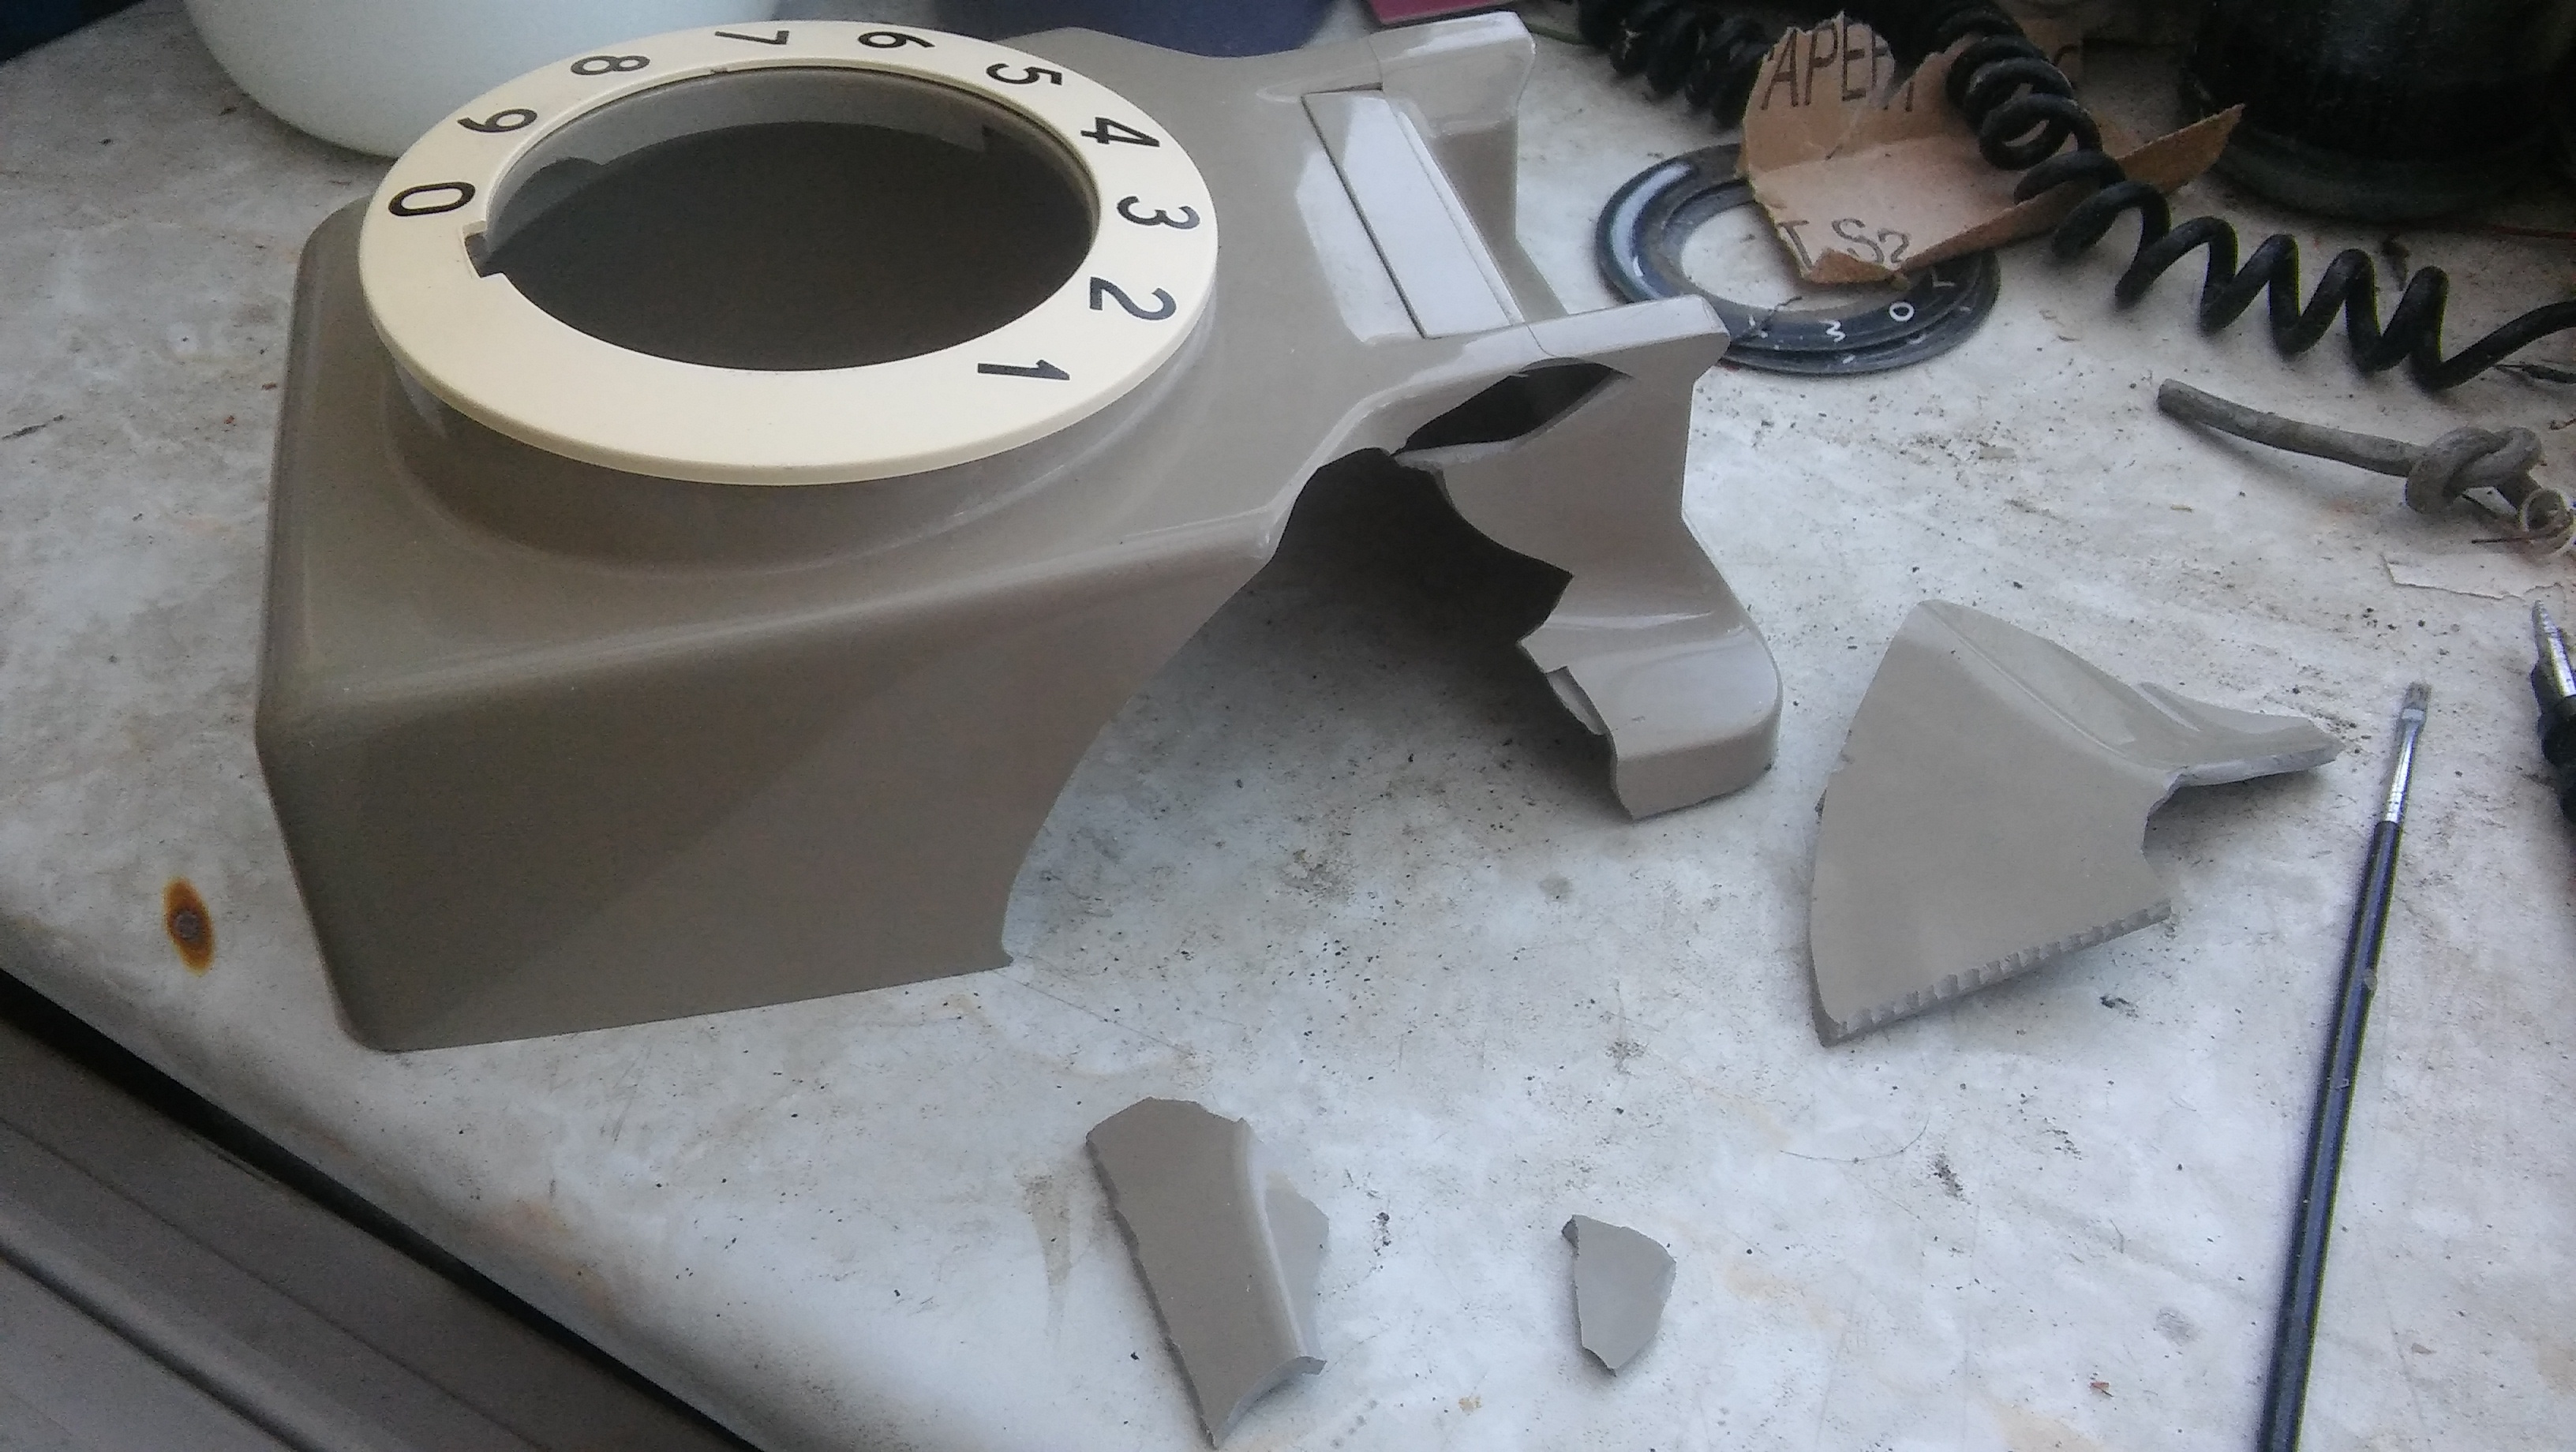
Luckily the broken parts were still in the box, so it was possible to retrieve most of the bits that had been smashed. As this is a later GPO casing made of ABS plastic, I used my own system of ‘chemical welding’ to stick the parts back together rather than gluing. This has the advantage of not adding a foreign material (ie glue) to the joint, so it is often possible to make the repair as strong as the surrounding material and also completely invisible.
The first stage in the process involves identyfying all the broken pieces and making sure the edges of the parts are clean. It’s best to try the pieces together for fit before welding begins.
The welding process itself involves slightly melting the edges of the broken pieces using a chemical process to make them just sticky enough to bond together without the use of glue of any kind. The chemicals then evaporate and the plastic returns to a solid state, making the joint as solid as a single plastic piece. At this stage the joint lines can still be seen, along with any areas where the pieces of broken plastic could not be found. Luckily, in this case I only had one large missing piece and a few very small chips, as you can see from the photo below.

The next stage is to use a plastic solution the same colour as the case. I always keep pieces of broken ABS and just happened to have some parts of a broken dial surround which were an exact match. The idea is to desolve into the solution to make a sticky, almost paste-like consistency. This is brushed into the cracks with a stiff artists brush. the paste will fill the cracks and any small missing chips. The aim is to over fill the cracks slightly so they can be sanded back to a flush surface. Once the sanding is done, more plastic solution can be brushed into any areas that are still found to be low. Sand again and the cracks should have disappeared, although the surface will be dull and scratched.

At this stage I happened to start investigating the telephone’s back plate and internal mechanism and just happened to find the missing piece of plastic sticking out from under one of the bell gongs. So I did have all the bits after all! This final piece was welded into place and the joints filled using the same process as before.
The whole surface is now wiped over with plastic melting chemicals on a clean lint-free cloth. Again this liquifies the surface slightly and helps to remove and remaining imperfections, although the surface will still be slightly rough. This can be cured by wiping with a different and slightly weaker chemical mix which is effectively equivalent to using a very fine grade of sandpaper. This will proabbly leave a white residue, but this can be removed by using an abrasive polish next such as ‘T-Cut’ or ‘Brasso’. Once polished the finish should be nice and shiny as below, with little or no evidence of the joints between the once broken pieces.

The photo above shows the finished repair. As you can see, there is very little evidence of any restoration taking place. Ther is however a slight colour mis-match between the area that has been restored and the rest of the casing. This is because ABS plastic yellows slightly over time, so the grey case takes on a slightly brownish hue. Where the repair was sanded also had the side effect of restoring the original colour, so the rest of the case would need polishing using our in-house developed colour restoration process. There is also a nibbled edge to the case still evident which was later rebuilt with a stiffer version of the plastic solution and sanded to shape.